Omnibees
Omnibees is a hotel distribution and management platform that provides technology for hotels to manage reservations and optimize revenue across multiple sales channels. For more information, visit the official Omnibees website.
Prerequisites
Before integrating PayU with Omnibees, ensure you have the following:
- An active PayU Latam account.
- An active PayU Enterprise (PaymentsOS) account in production/live mode (see activation details below).
Activating Your PayU Enterprise Account (Live Mode)
By default, new accounts are set to test mode. To enable live transactions, contact your account manager and submit a request with the following details:
- Merchant ID: Locate your LATAM account’s Merchant ID in the PayU Management Panel.
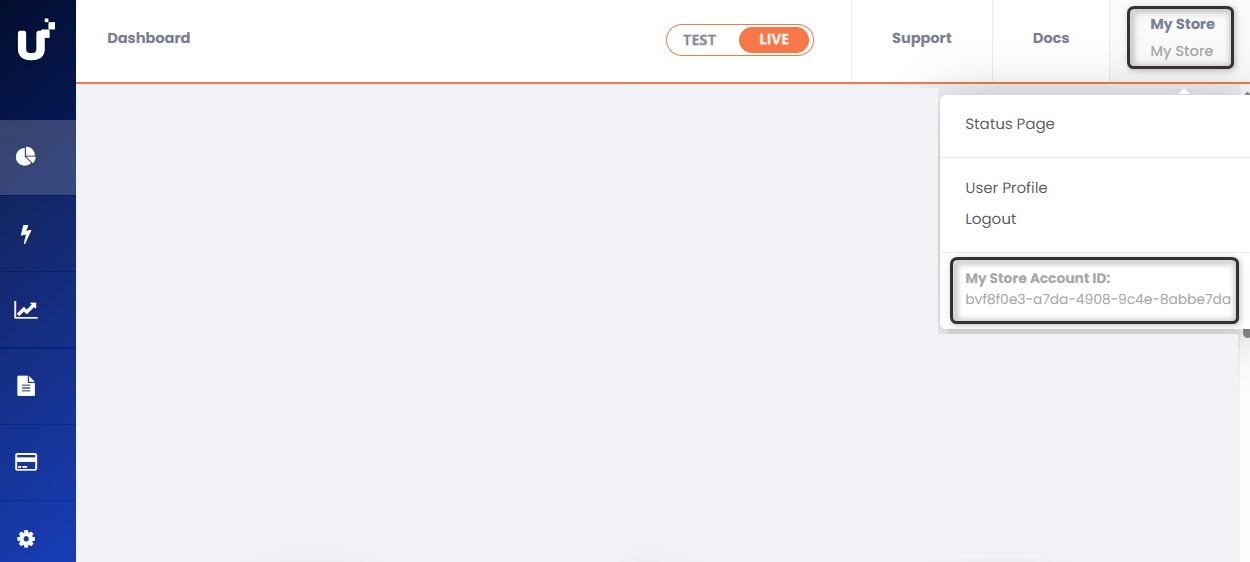
- Account ID: Find your Account ID in the PayU Enterprise control panel by clicking your username in the upper-right corner.
Integrating PayU with Omnibees
Integration consists of two main steps:
- Configuring your PayU Enterprise account
- Contacting Omnibees to enable the integration
1. Configuring Your PayU Enterprise Account
PayU Enterprise operates through PaymentsOS, which acts as middleware between PayU Latam and Omnibees. Configuration includes the following components:
- Provider configuration
- Business unit setup
- Webhook creation
1.1 Configuring a Provider
A provider stores your payment-processing credentials. Follow these steps to configure one:
- In the PayU Enterprise dashboard, navigate to Configurations > Providers.
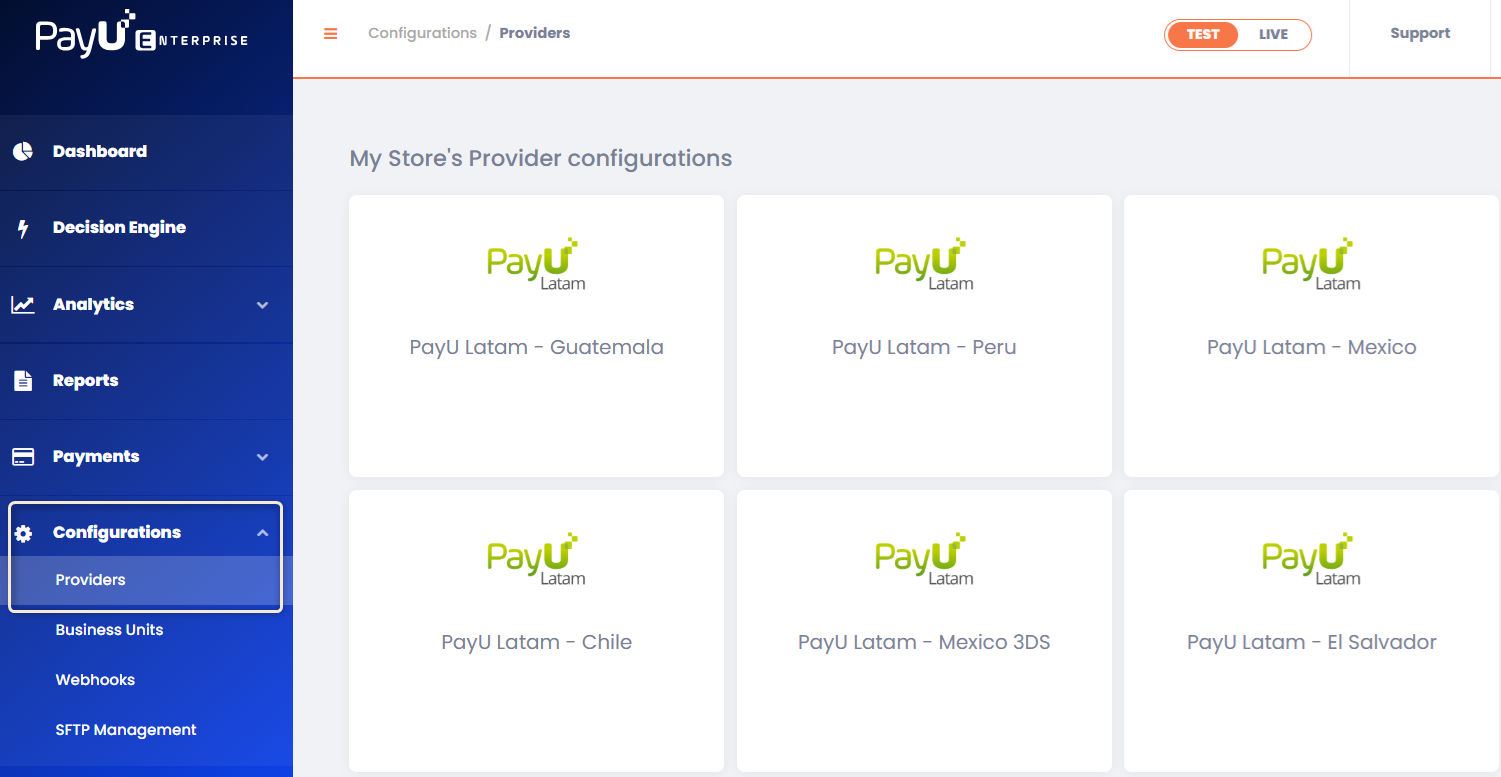
-
Click the module corresponding to the country or division you are configuring.
-
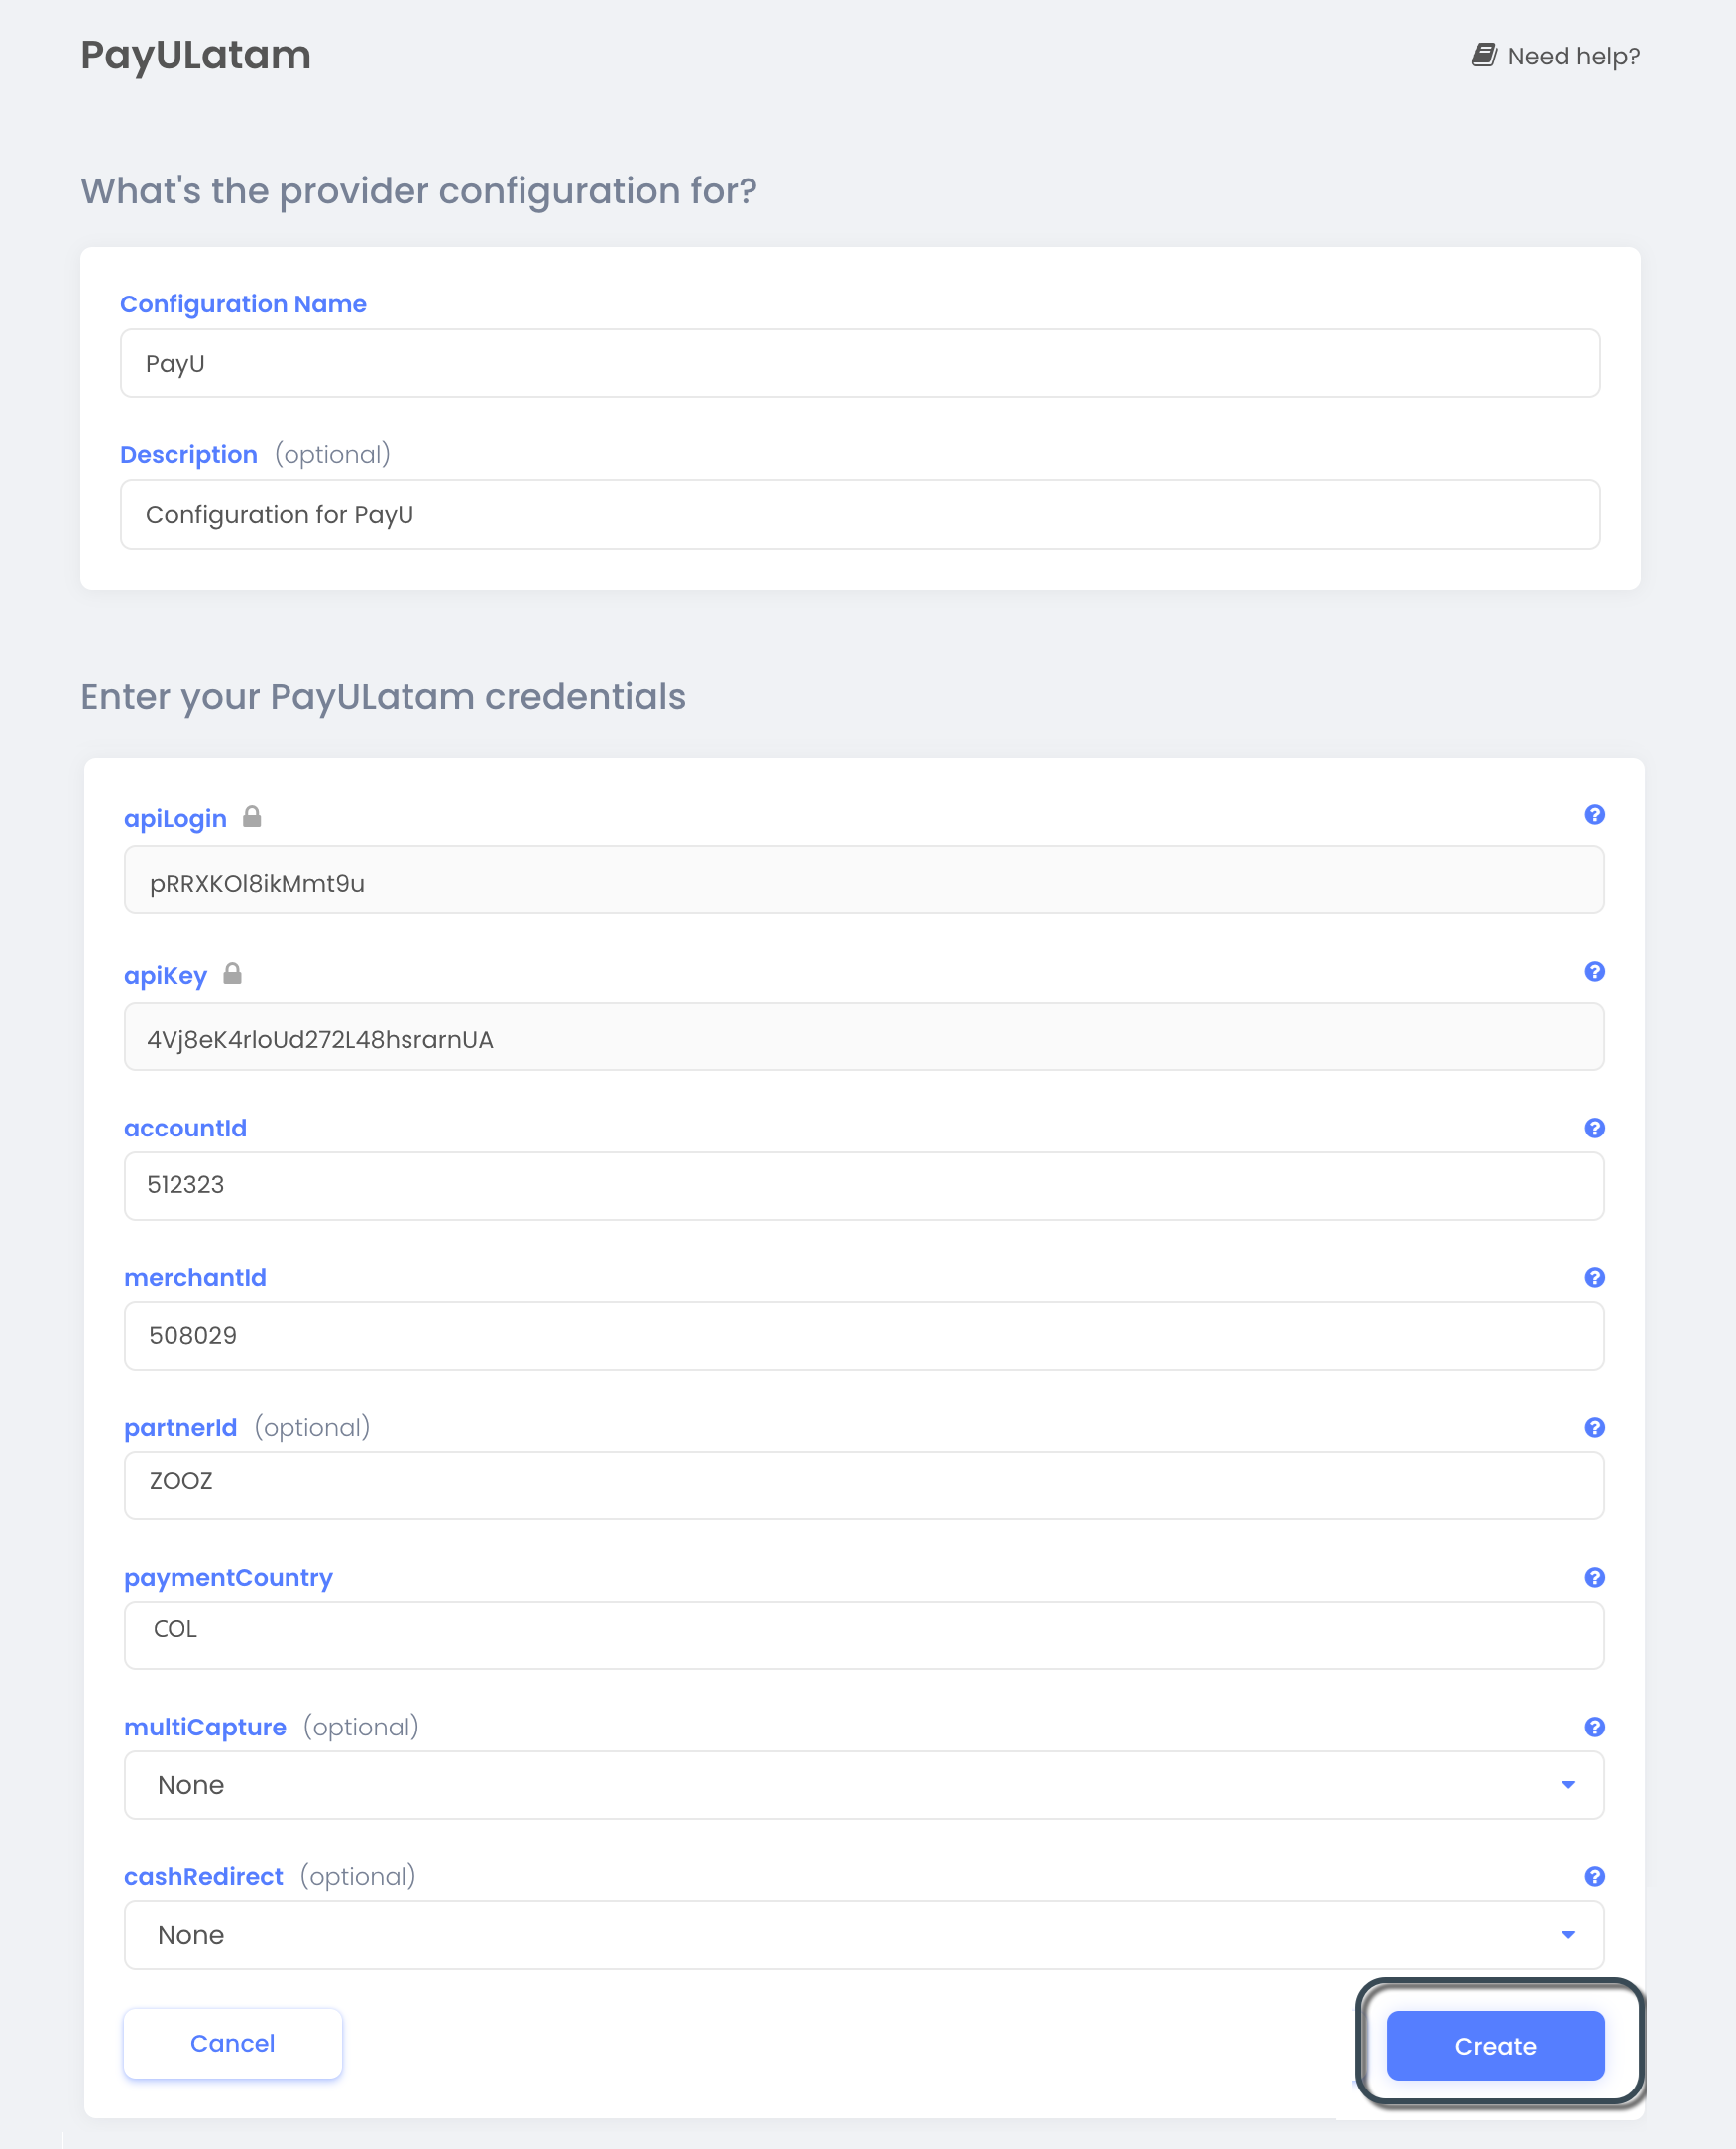
Complete the following fields:
| Field | Description |
|---|---|
| Configuration Name | Enter a name for the provider configuration. |
| Description | Provide an optional description. |
| apiLogin | Username or login provided by PayU. Get API Login |
| apiKey | Unique key of your commerce. Get API Key |
| accountId | PayU account ID based on your operating country. |
| merchantId | Your commerce ID in PayU Latam. |
| paymentCountry | Processing country in ISO 3166 Alpha-3 format. |
| multicapture | Select None. |
| cashRedirect | Select None. |
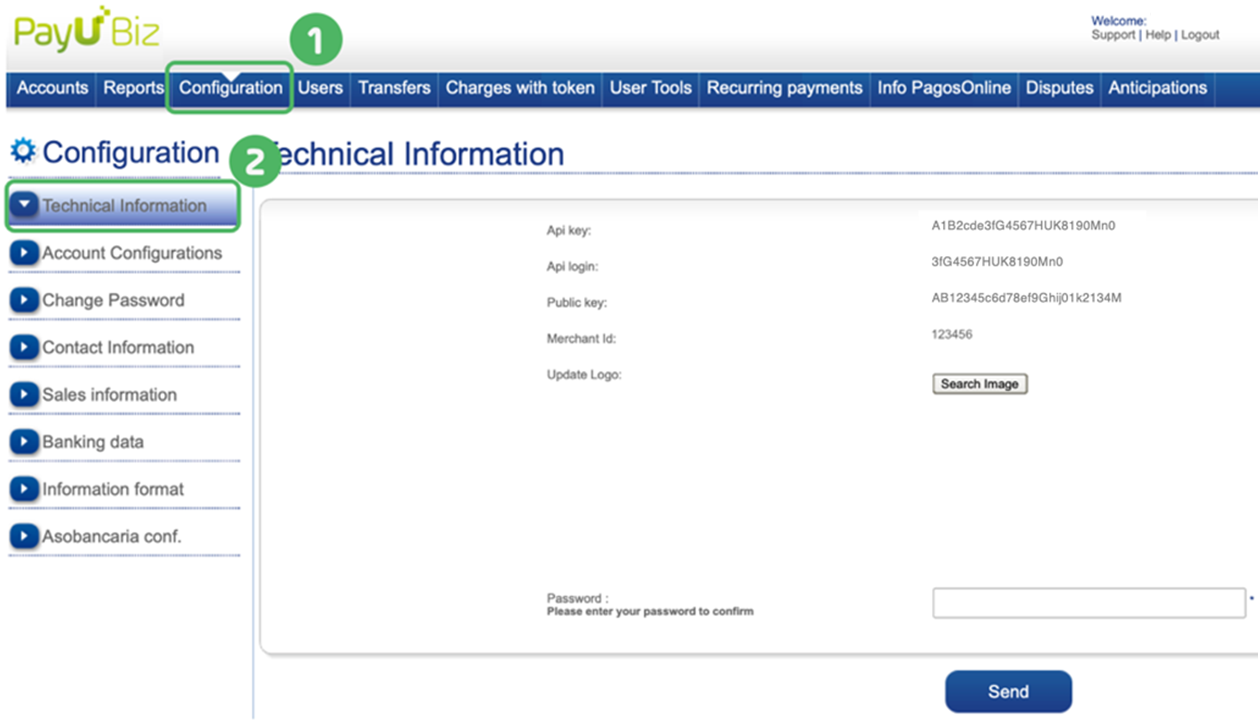
Note
If you are using older versions of PayU’s Administrative Module, find your account information under Configurations > Technical Information.
- Click Create.
1.2 Creating a Business Unit
A business unit links the provider configuration with PayU Enterprise API credentials for processing transactions. Follow these steps:
- In the dashboard, go to Configurations > Business Units.
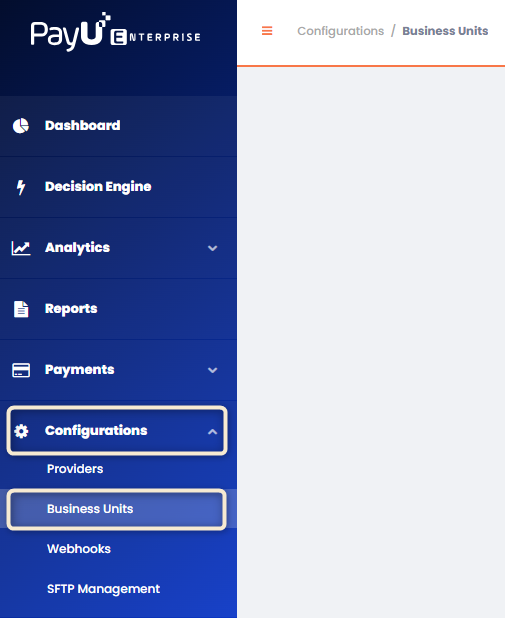
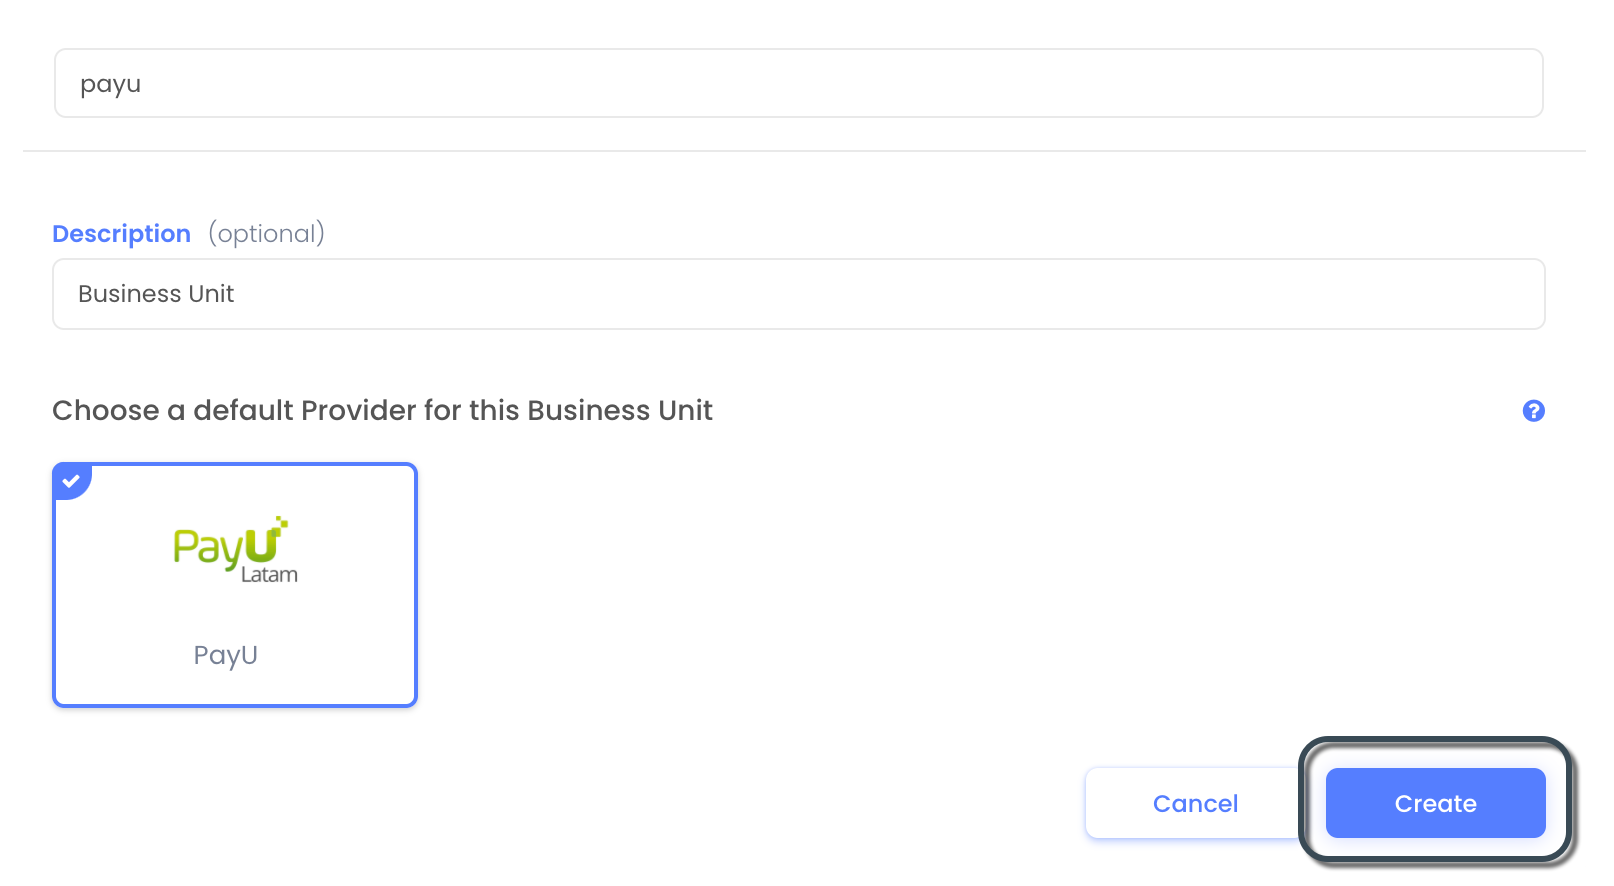
- Click Create Business Unit and enter:
| Field | Description |
|---|---|
| Business Unit Name | Must be lowercase and contain no spaces. This value cannot be changed later, so ensure accuracy. |
| Description | Optional description. |
- In the Choose a Default Provider for This Business Unit section, select the provider created in Step 1.1, then click Create.
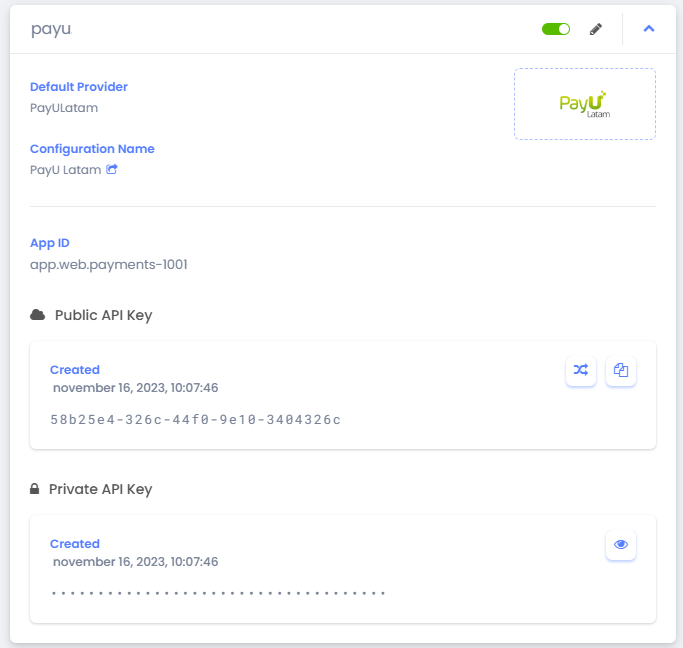
Note
You can click on the business unit tab to retrieve the following details necessary for Omnibees integration: App ID, Public API key, and Private API key.
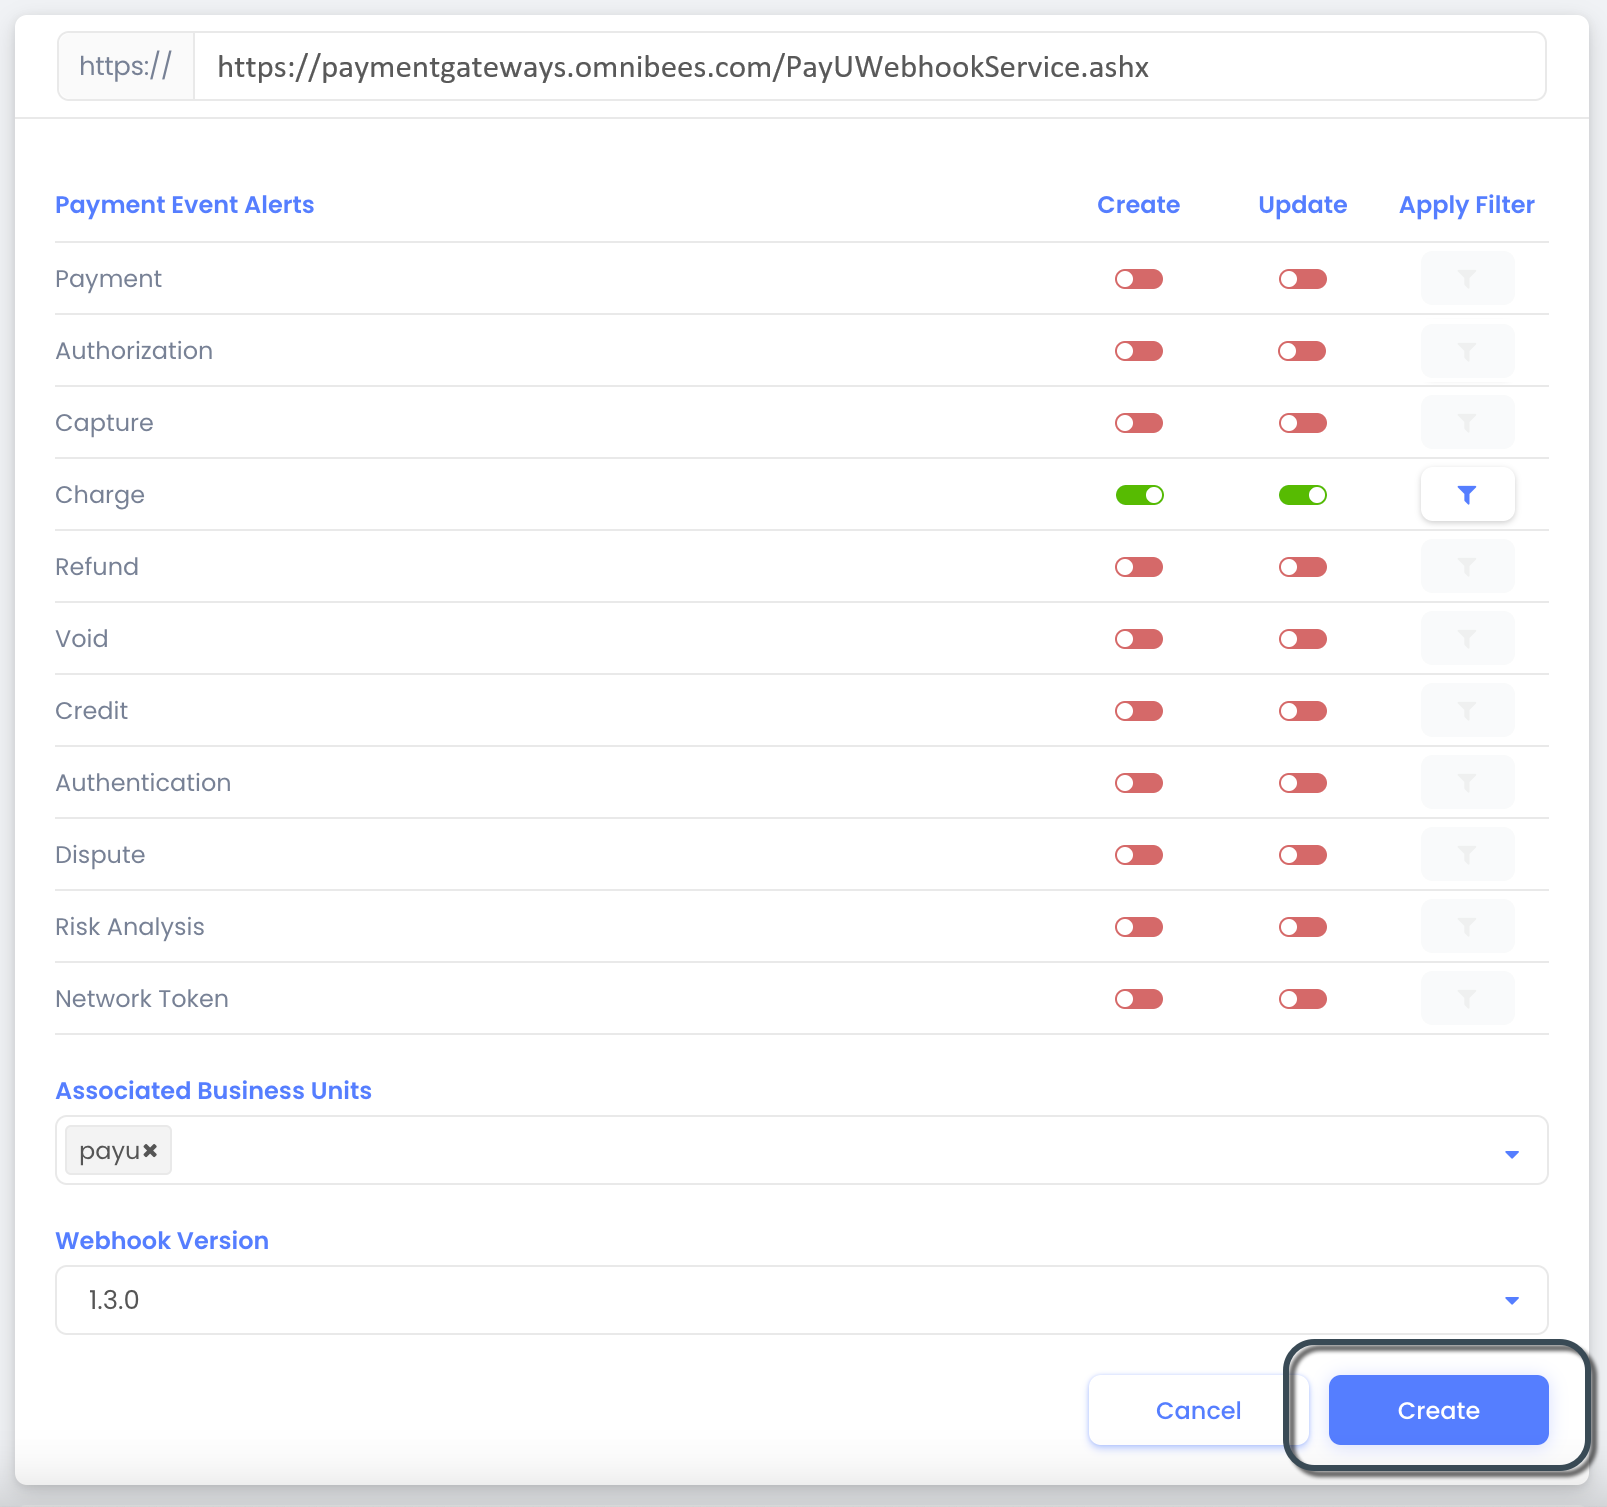
1.3 Creating a Webhook
The webhook receives notifications from Omnibees when a transaction changes status. Follow these steps:
- In the dashboard, navigate to Configurations > Webhooks.
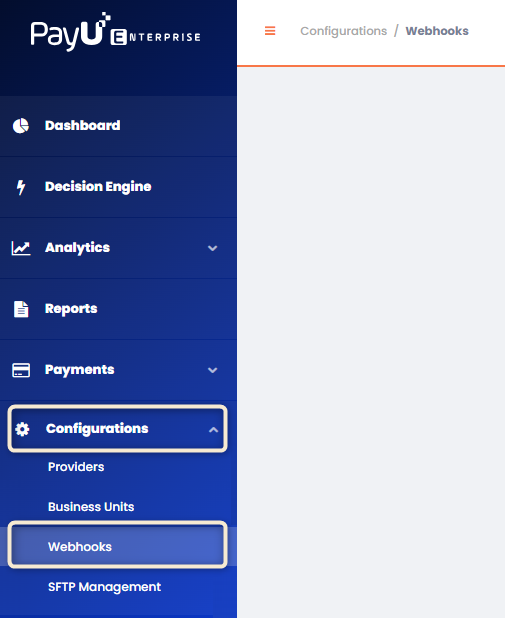
-
Click Create a Webhook Endpoint and enter:
https://paymentgateways.omnibees.com/PayUWebhookService.ashx -
Enable Update and Create for the Charge event under Payment Event Alerts.
-
Assign the webhook to the previously created business unit and select the latest webhook version.
-
Click Create.
2. Contacting Omnibees to Enable the Integration
Once the PayU Enterprise components are configured, email servicedesk@omnibees.com to request activation. Include the following details:
- App ID
- Public API key
- Private API key
- Business unit (optional)
User Management in PayU Enterprise
PayU Enterprise allows role-based user access for business units. For details on managing users and permissions, refer to the PayU Enterprise documentation.