Transfers
In the Transfers module, you can transfer the funds collected in your virtual PayU account to your registered bank account.
Considerations
Before initiating a transfer, review the following important considerations:
- Your bank information must be up to date and validated. If you’ve requested a bank account update, the system will continue sending the funds to your previous account until the PayU Risk team has validated the new account.
- You can schedule transfers based on a specific amount or set a date for automated transfers.
- Each month, the first three local transfers are free of charge. Starting from the fourth transfer in a month, PayU applies a fee in most countries. Note that international transfers incur a fee from the very first transaction. The table below provides an overview of the fees for local and international transfers by country.
| Country | Local Fee | International Fee |
|---|---|---|
| Argentina | 110.00 ARS | 753.00 USD |
| Brazil | None | None |
| Chile | 2,000.00 CLP | 50,000.00 CLP |
| Colombia | 6,500.00 COP | 30.00 USD |
| Mexico | 10.00 MXN | 650.00 MXN |
| Panama | 30.00 USD | 44.00 USD |
| Peru | 15.00 PEN | 90.00 USD |
Notes
- Fees are subject to change over time. For the most current information or specific questions, please contact your PayU sales representative.
- International transfers are also subject to a 3% FX fee (subject to negotiation) to cover currency exchange rate costs.
- In Brazil, as PayU is not a licensed payment institution, the system automatically transfers your funds to your bank account daily at no cost. To monitor these transfers, use the Daily payouts option (Transfers > Daily Transfers).
- The first transfer may take up to five (5) days to be deposited in your bank account. As part of an administrative process, the PayU Risk team may request additional documentation to verify your initial sales.
- The second and subsequent transfers will take a maximum of three (3) business days to complete. Business days are typically Monday to Friday, excluding public holidays.
Note
The times mentioned apply only to local transfers. For international transfers, please contact your sales representative.Permission Required
To have access to this module, you need to have a profile with the following permission enabled:
- Transfers > Review
- Transfers > Manage
This permission allows you to perform transfers.
Refer to Profiles and Permissions for more information.
Transfer Funds
You can transfer up to the total amount in your PayU account to the registered bank. Follow these steps to perform a transfer.
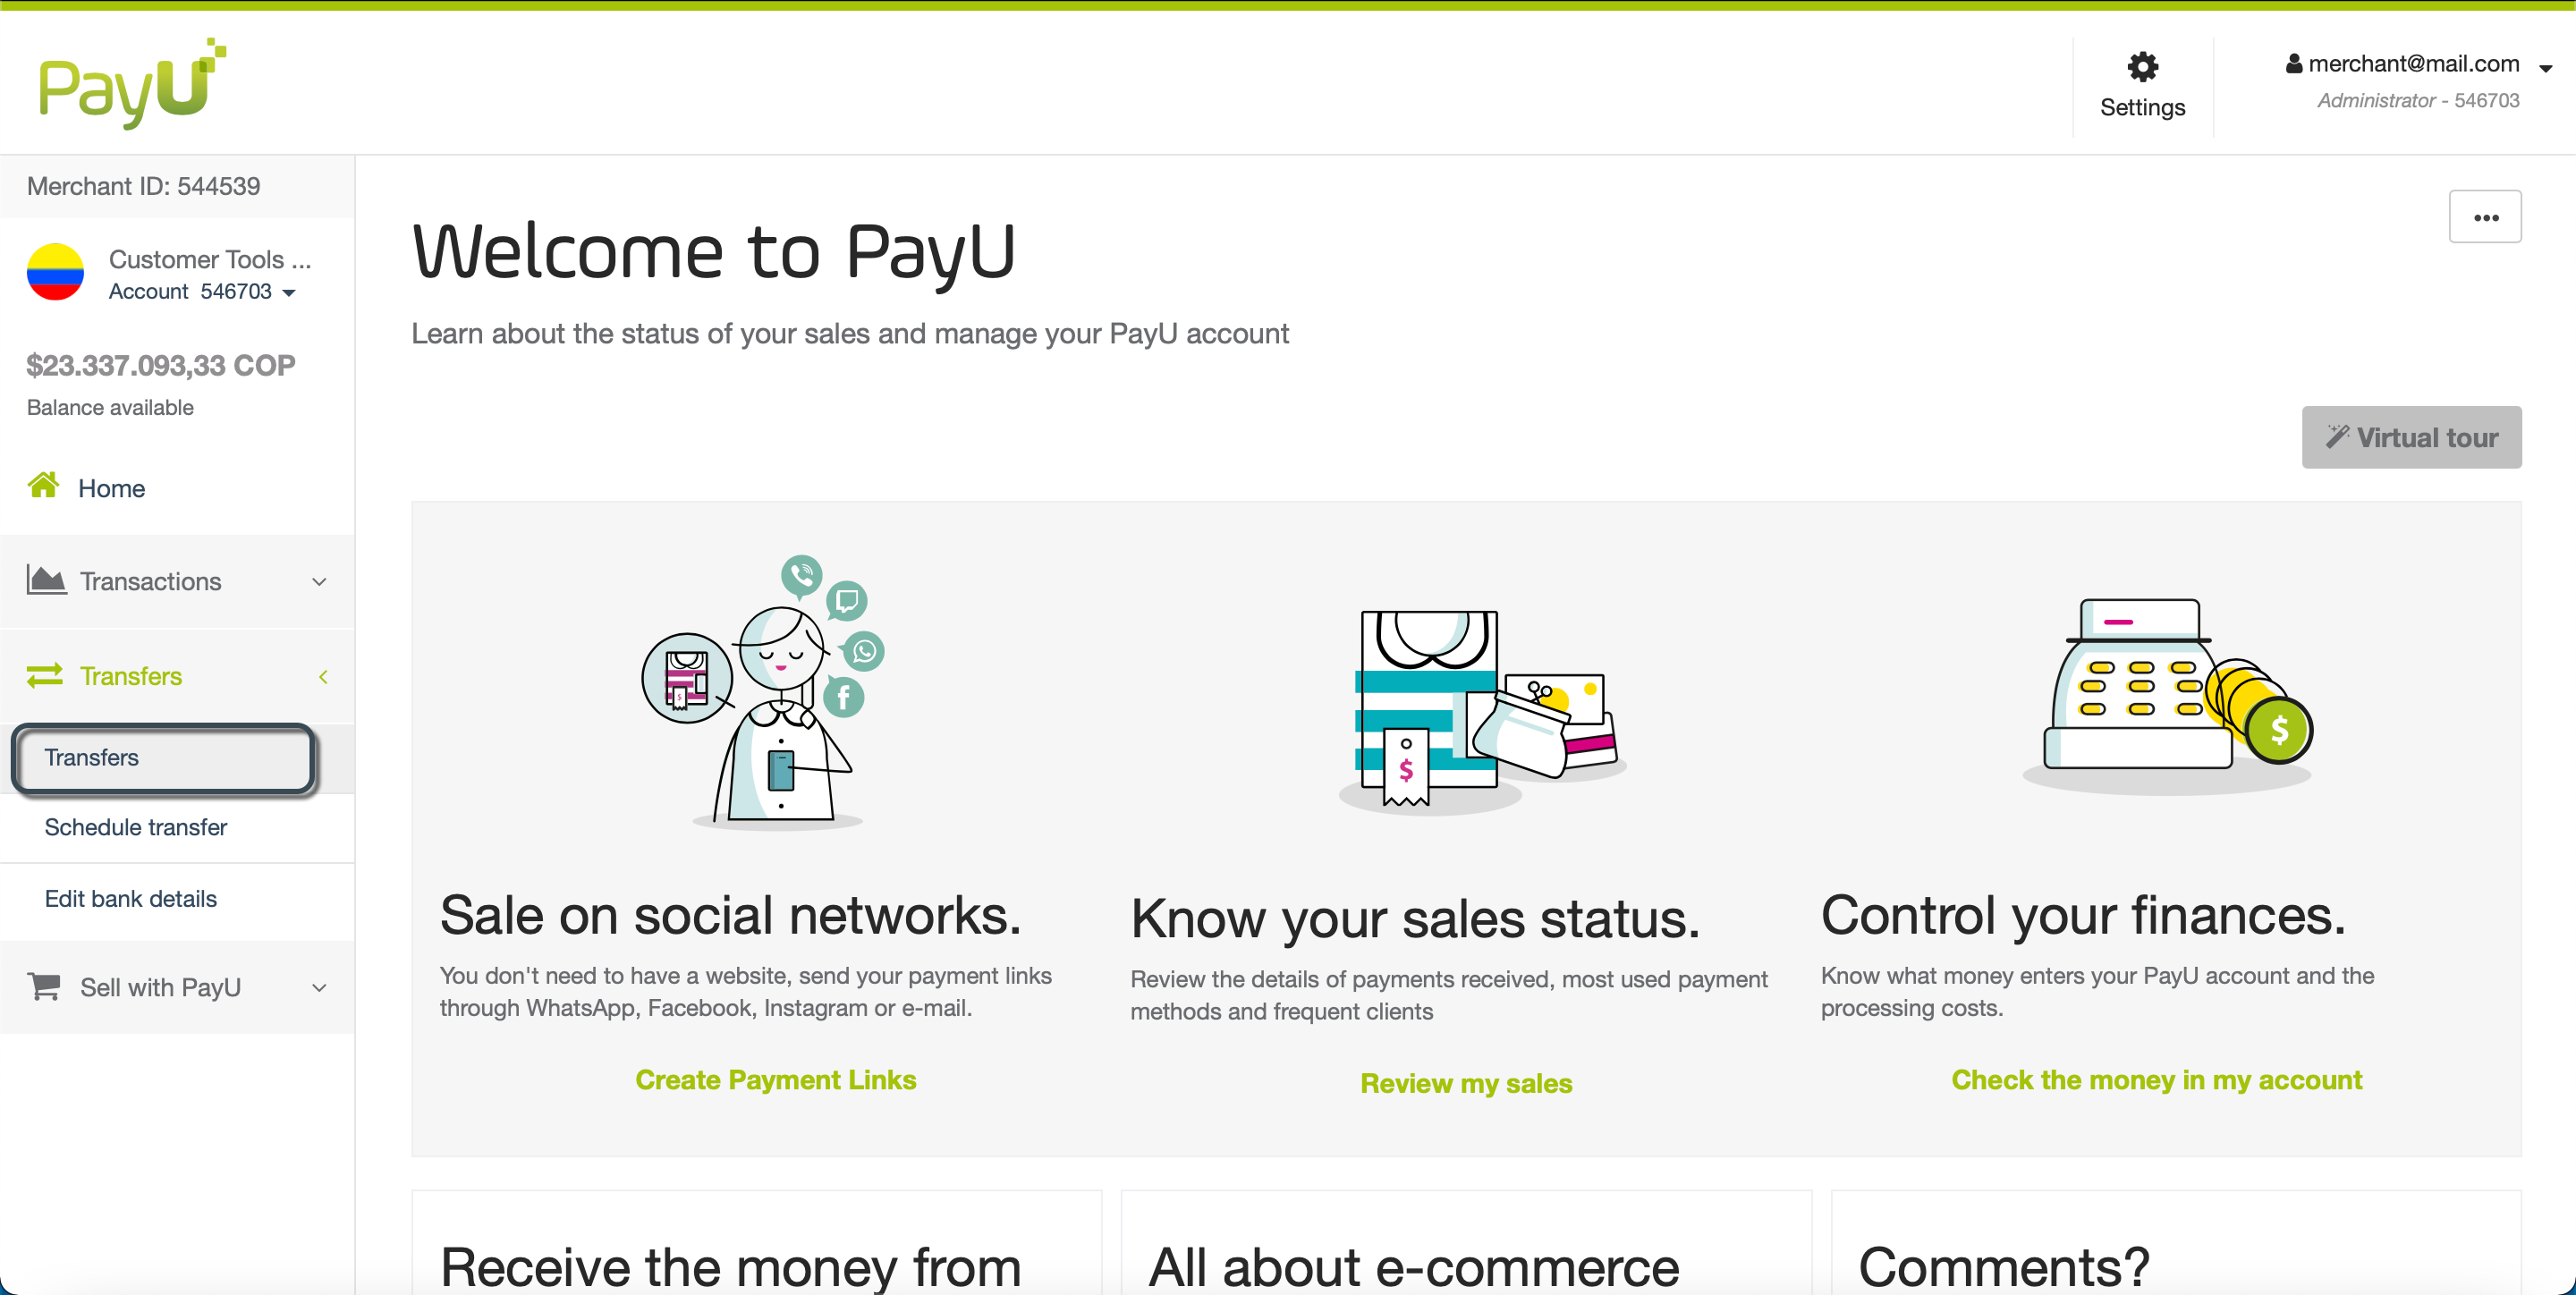
- Log into your PayU account. In the left menu, expand the Transfers menu and select Transfers.
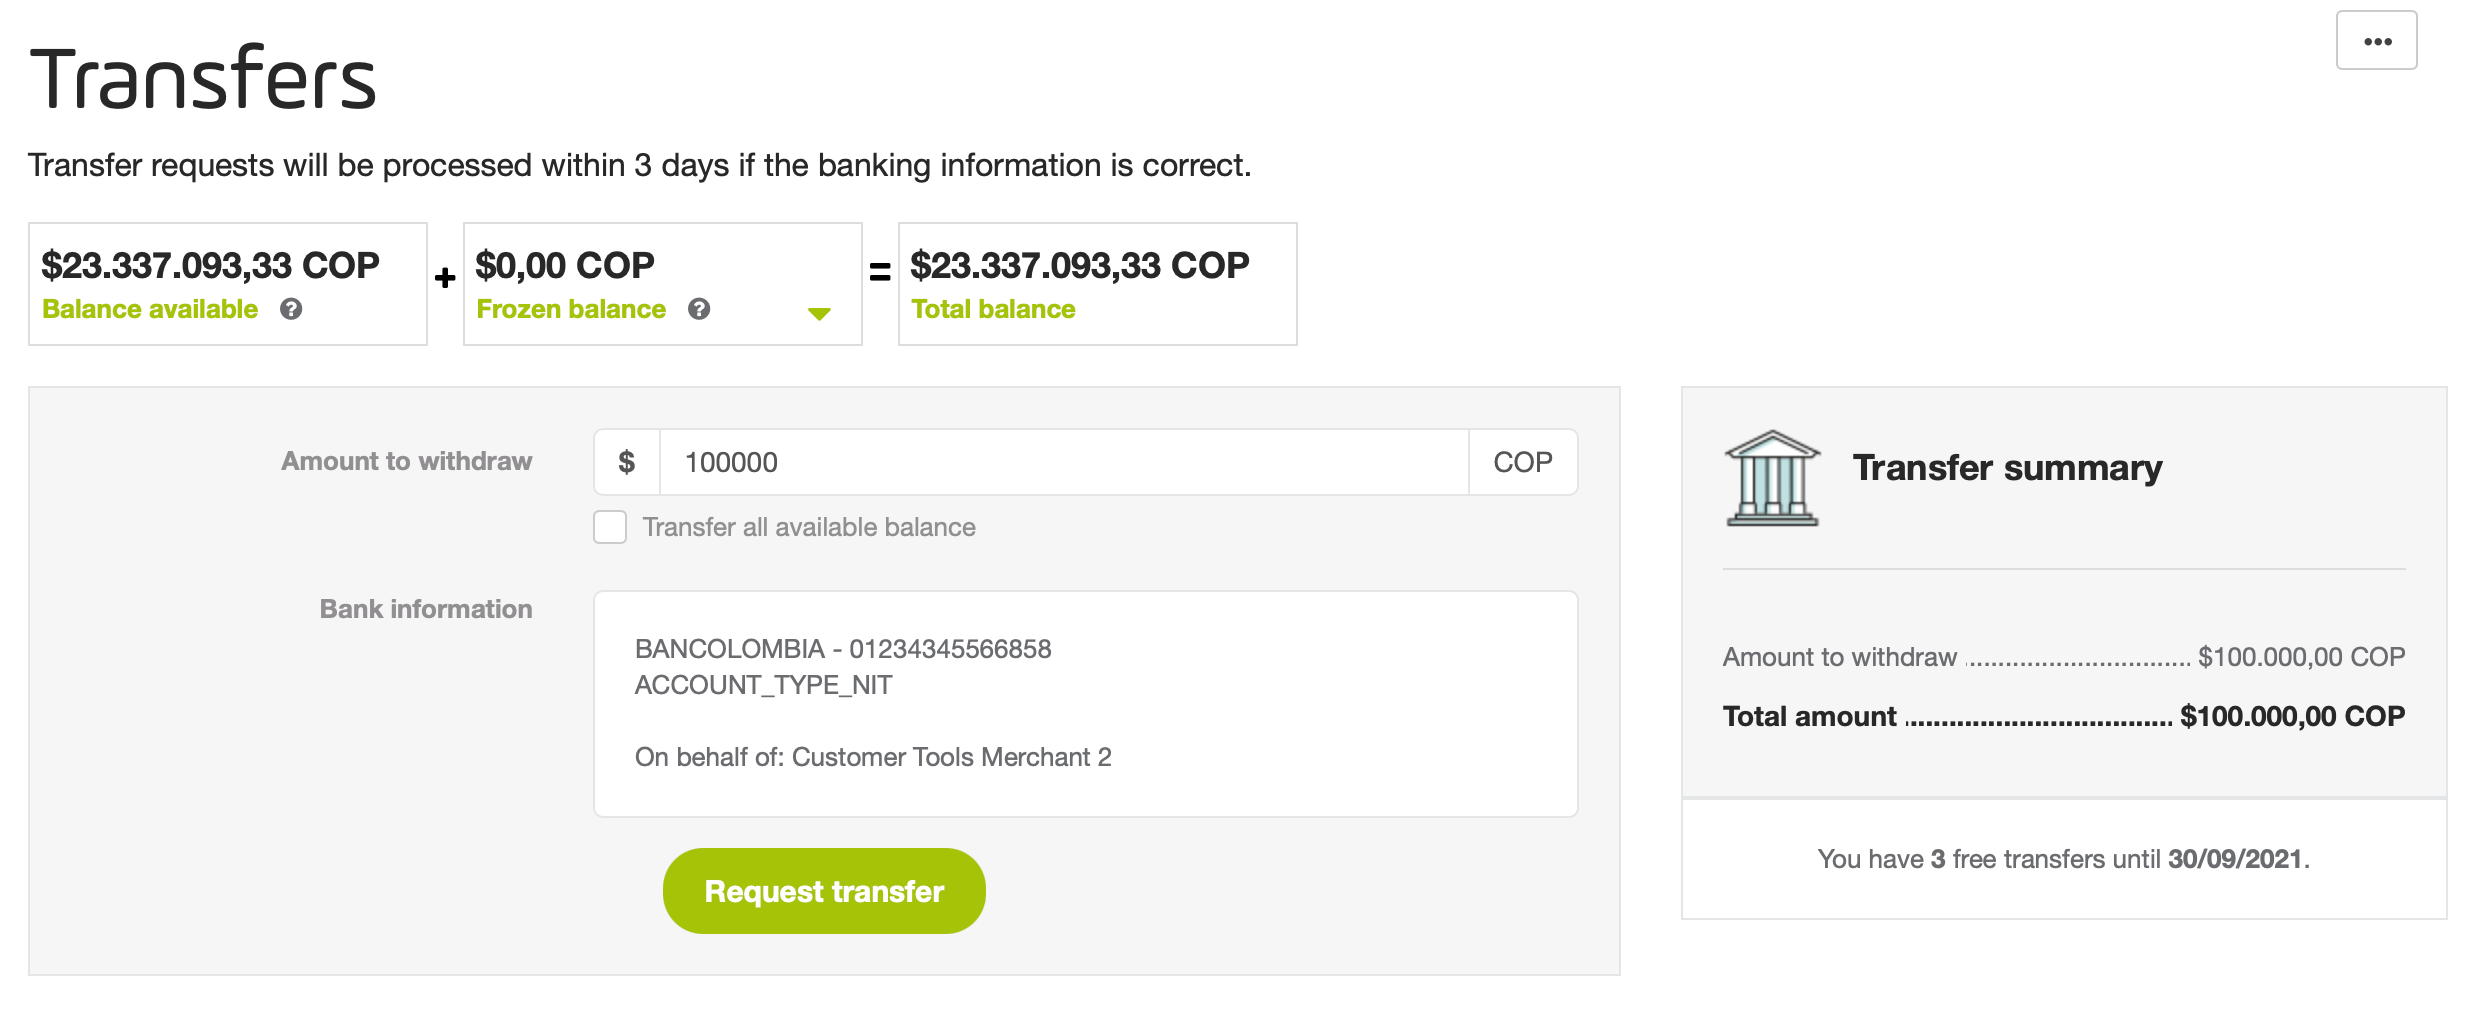
- Complete the value to transfer or select the Transfer all available balance option. In the right panel, the value entered is updated; furthermore, this panel shows how many free transfers you have until the end of the month.
If you don’t have free transactions, this panel also displayed the value of the transaction along with the taxes.
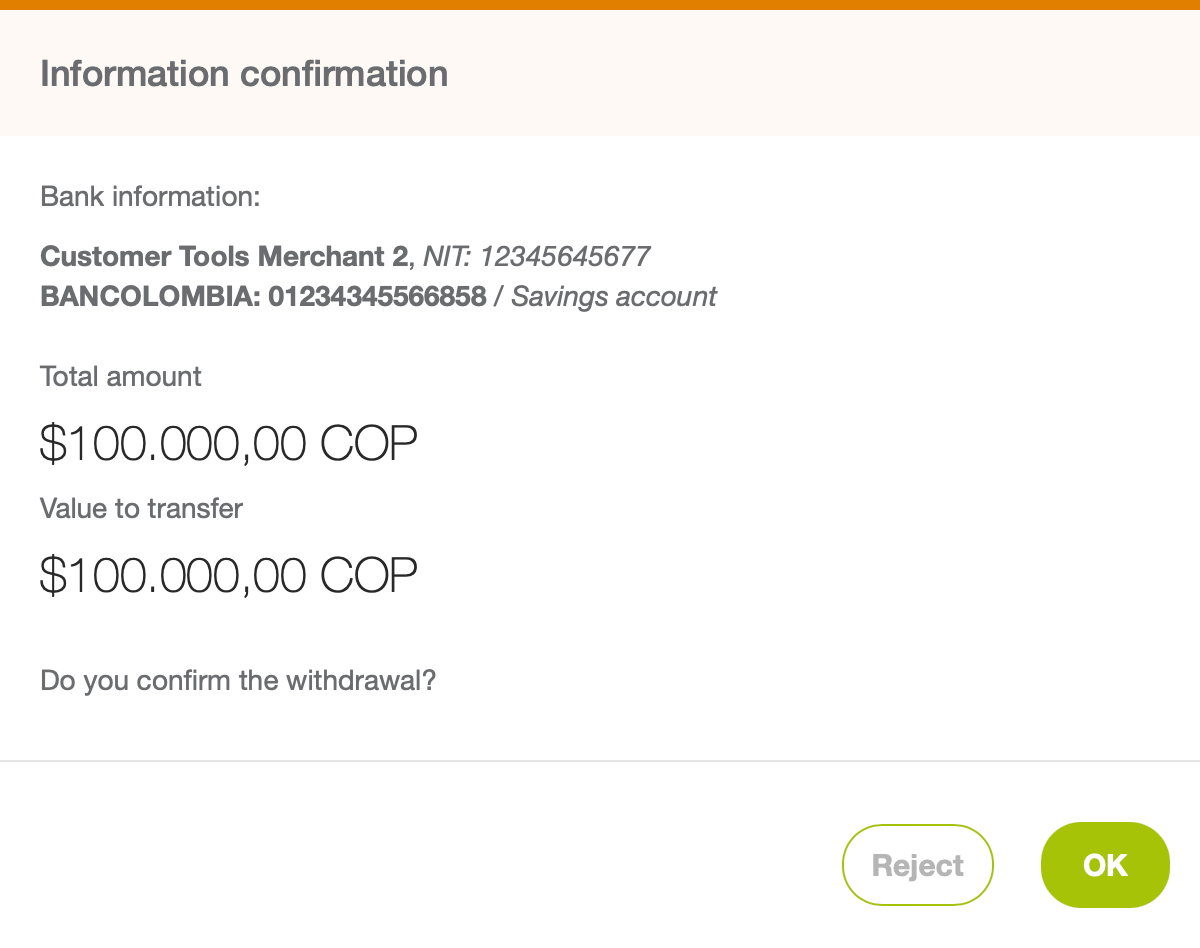
- Click Request transfer. A confirmation window appears to confirm the amount to be transferred, the value to be debit from your account, and the target account.
Click OK to confirm it or Reject to discard it.
- The result of the operation appears. Take into account the number of days to reflect the money in the target account.
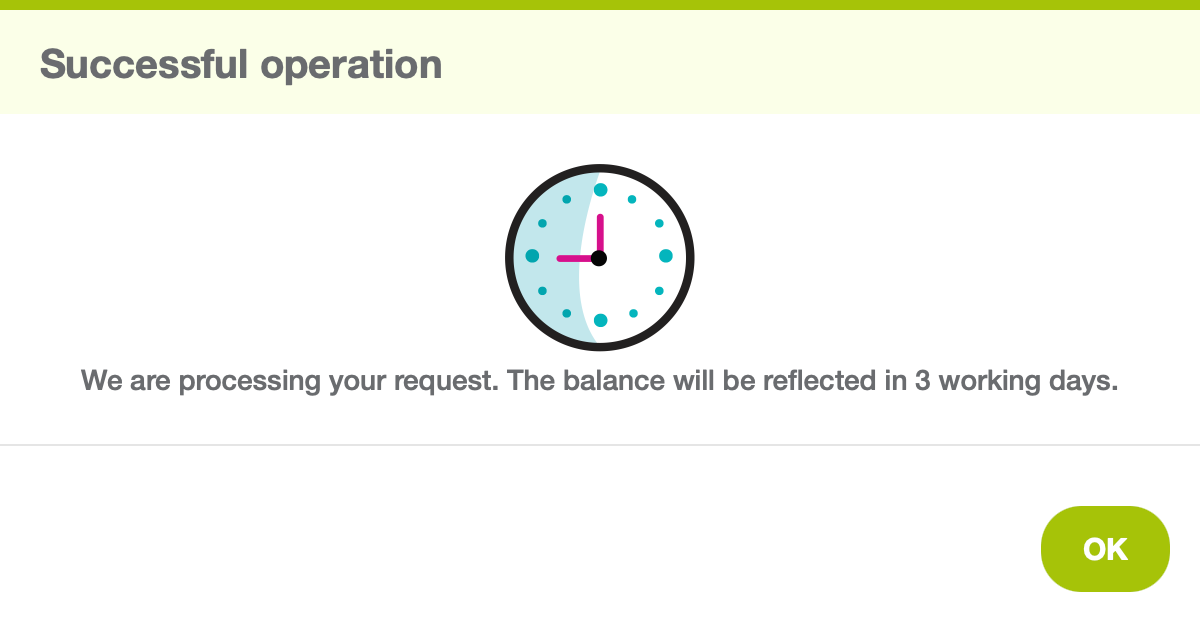
As soon as the request has been successfully sent the transfer is in In progess status and you can see it in the Created transfers report section at the end of the module; also, the amount requested is debited from your balance.
If the transfers could not be processed, this amount backs to your account and no fee is charged for this operation.
Schedule Transfers
You can automate the transfers and request the a withdrawal given a fixed amount or each certain time.
Note
 Schedule transfer is not available for Brazil.
- When scheduling transfers, you must have the enough funds by the time when the transfer is executed.
To schedule a transfer, follow these steps.
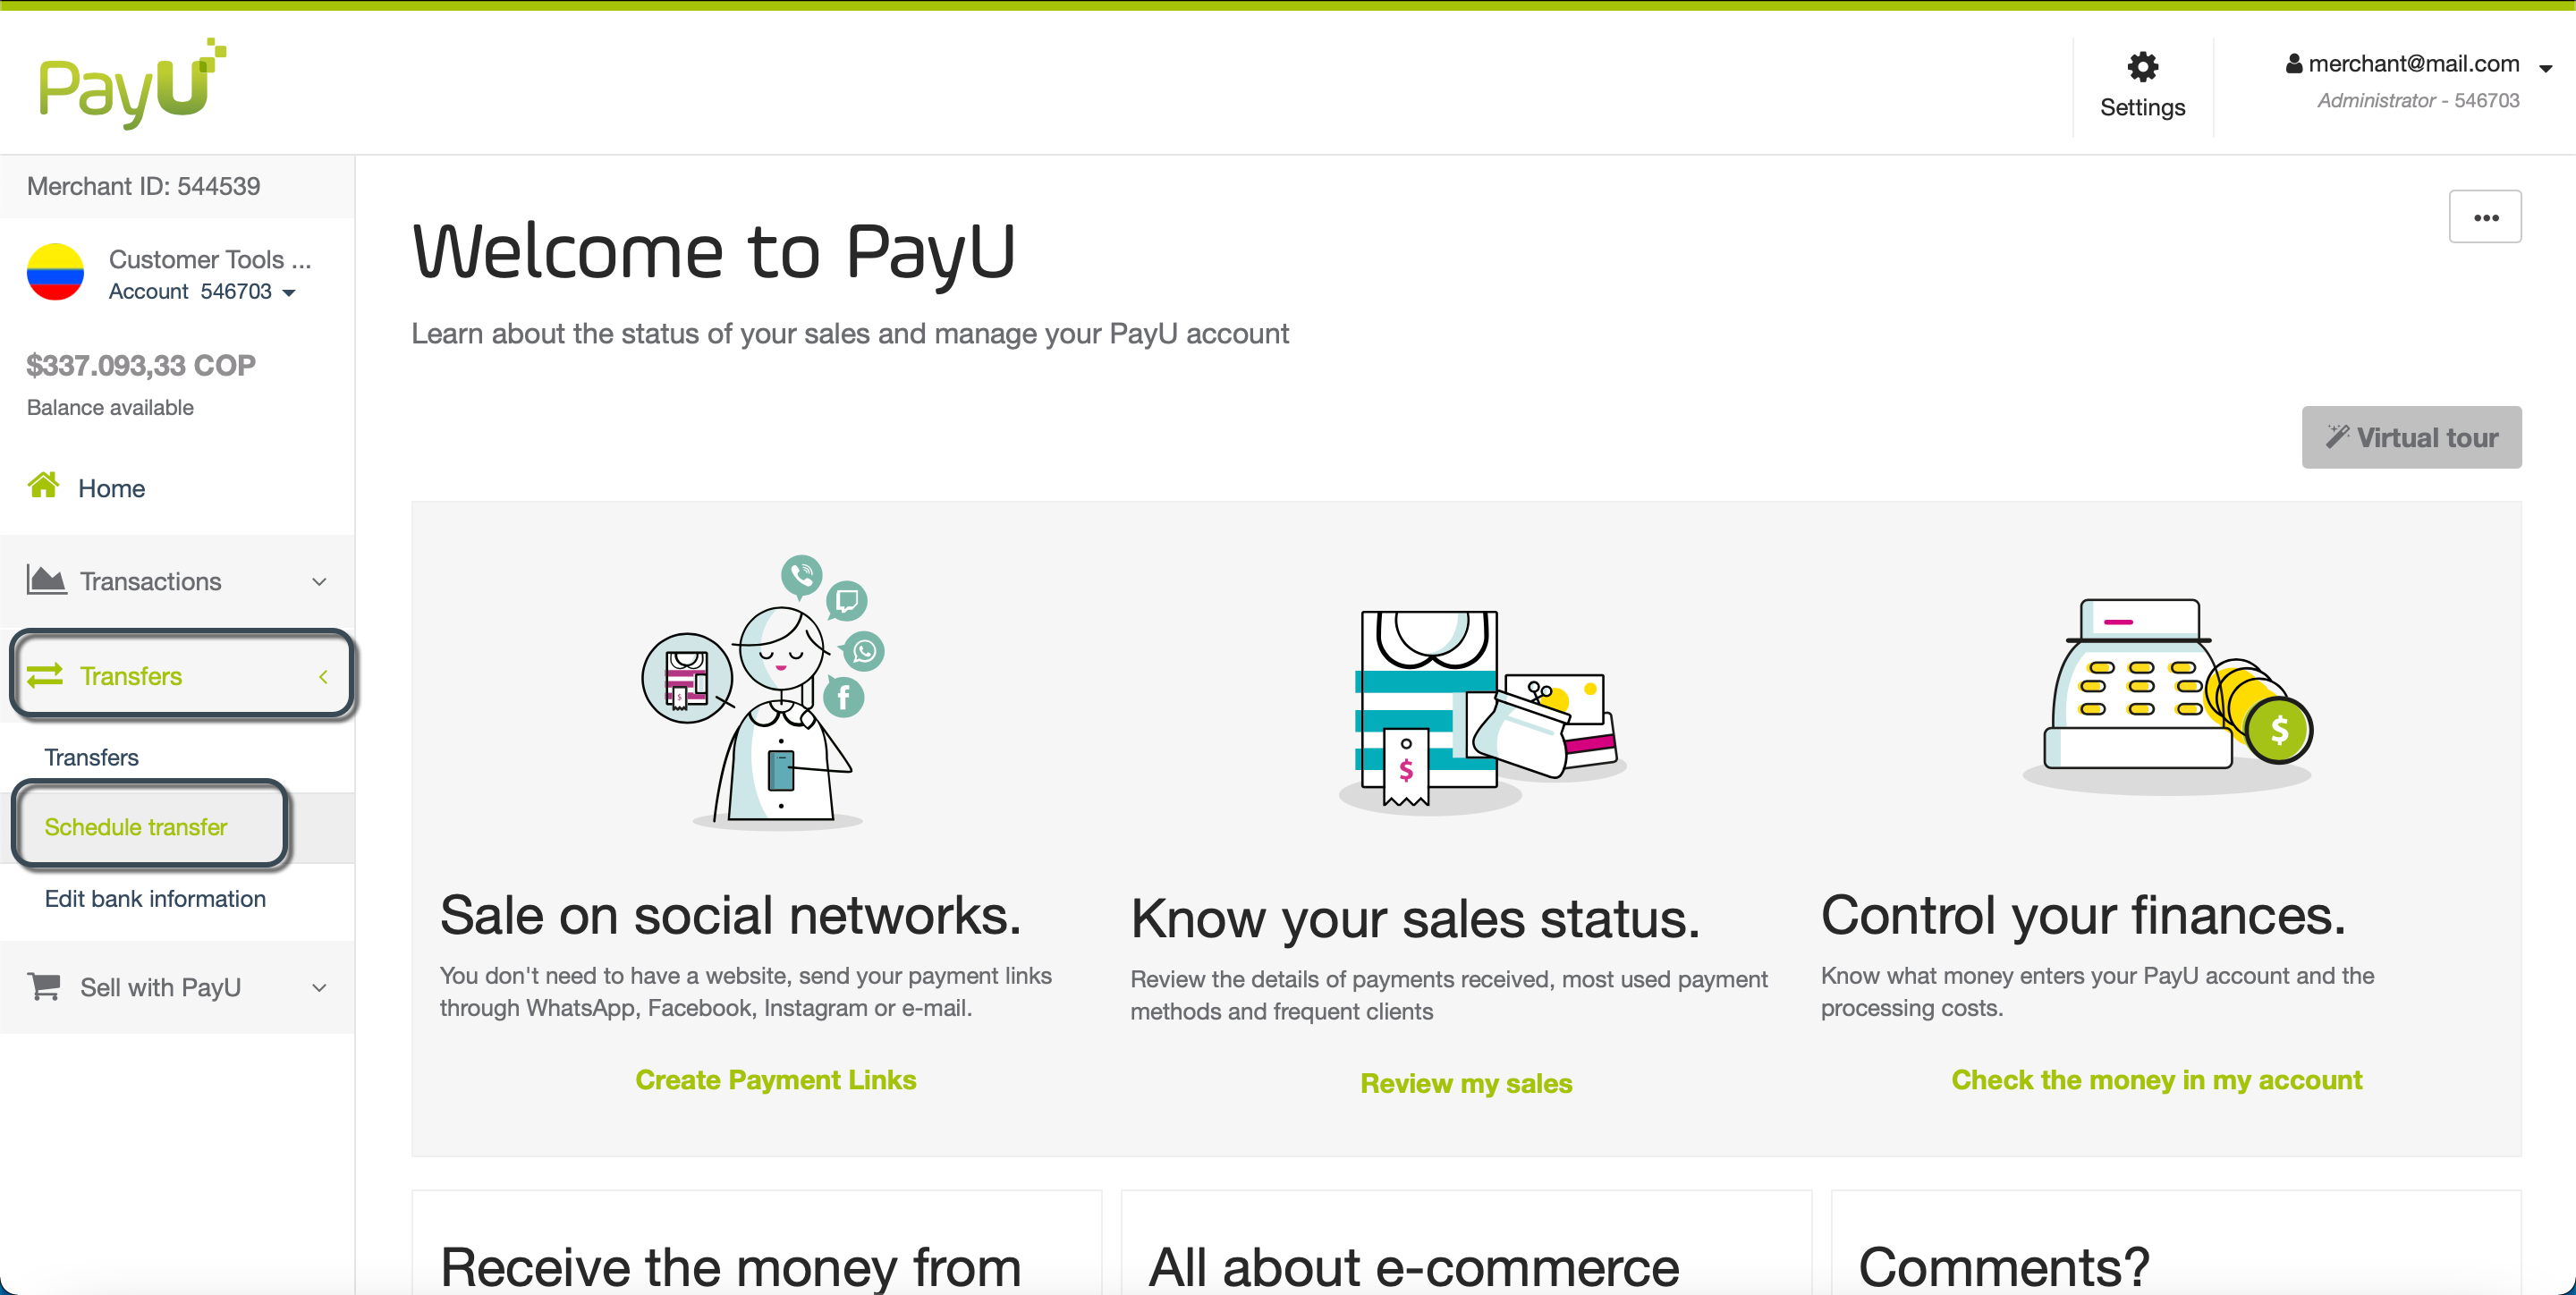
- Log into your PayU account. In the left menu, expand the Transfers menu and select Schedule transfer.
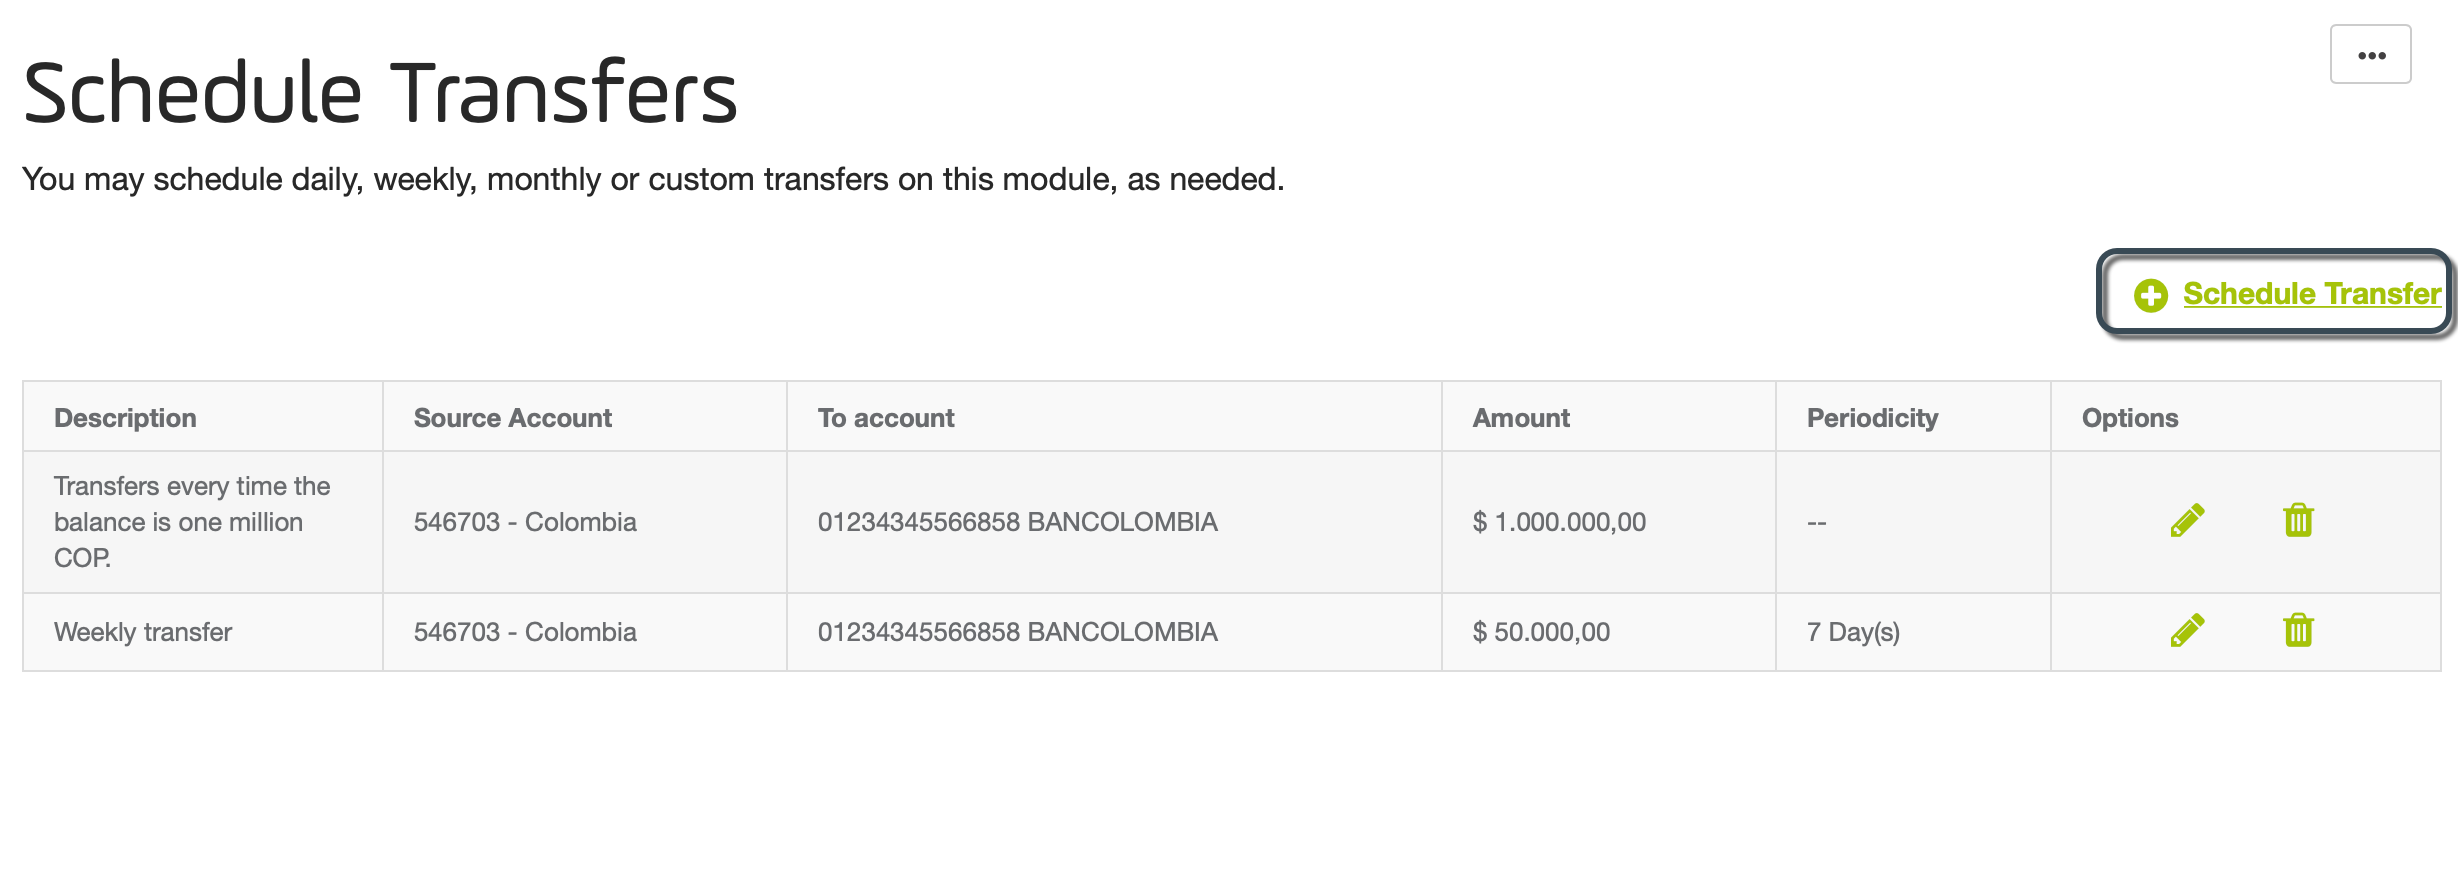
- The Schedule Transfers module opens, here you can see all the scheduled transfers you have configured. Click Schedule Transfer to set up a new schedule.
Options
The options column provides the following actions:
- Edit (
 ): allows you to change the configuration of the schedule.
 - Delete (
 ): allows you to deactivate the schedule. Once the schedule is removed, no automatic transfers can be created.
- Select how you want to schedule the transfer.
-
Schedule Transfers by Periodicity
This option lets you transfer a given amount every certain time (days, weeks, or months). To schedule this type of transfers, select the option Periodicity. -
Schedule Transfers by Available Balance
This option lets you transfer a given amount every time the balance reaches a specific value. To schedule this type of transfers, select the option Balance available.
Provide the following options.
| Option | Description |
|---|---|
| Make a withdrawal each | Select the periodicity of the transfers you want to schedule. This option is available for transfers scheduled by periodicity. |
| Select the amount to withdraw | Select the amount you want to transfer, you can select the total available balance or a fixed value. |
| Amount to withdraw | Select the amount you want to transfer. This field appears when you select the option Configure value. |
| Start my transfers on | Select the starting date for the schedule. In this date, the first transfer is scheduled.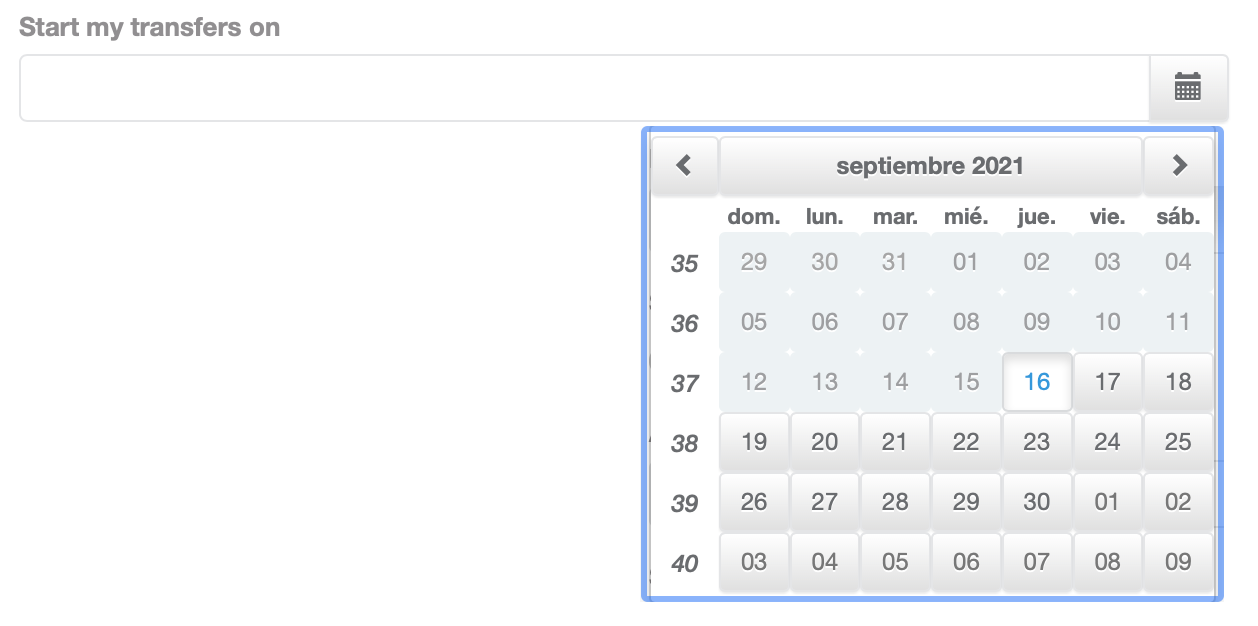 |
| Description | Provide a meaningful description for your transfer. |
- When finish, click Schedule Transfer.